Tips & Tricks
Nesting: What It Is and Why You Should Do It

No matter how you cut a part, there will always be scrap material. In an ideal world, there would be no scrap and for every sheet of material you purchase, you’d use up 100% of it. Reality, though, dictates that there will always be some waste material. How we minimize that waste is through nesting. In simple terms, nesting is packing as many parts into a fixed sheet size as possible, leaving as little leftover material as possible. If all you are doing is cutting squares and you have a rectangular sheet of material, your material usage will be near 100%. In the real world, though, parts are not simple squares, so we need to utilize different methods of nesting to maximize material usage.
Array Nesting
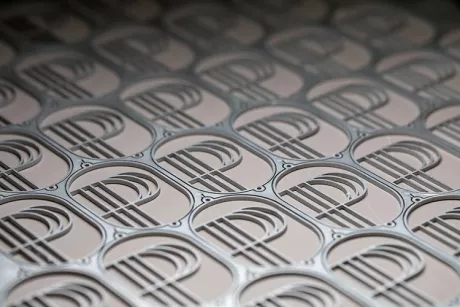
Array nesting is used when you have one part and need to cut multiples of that part. This is the simplest form of nesting, and depending on the shape of your part, can result in an impressive material utilization rate. It is also easy to do without dedicated nesting software, as all you have to do is copy and paste the part at a specified distance apart. Repeat horizontally and vertically as needed. In some cases, you might be able to get a tighter nest by offsetting the second row of parts.
Automated Nesting
Automated nesting lets you take many different part shapes and sizes and rotate them all individually to get as tight a fit as possible onto the target sheet. This requires third party software, as the calculations can be quite intense, but the results are also amazing, which makes the additional cost often worth it. With automated nesting you can cut hundreds of parts from a single sheet and not only maximize production, but significantly minimize waste and simplify recycling of the scrap material.
Whichever method you choose, utilizing nesting will help maximize your material usage and lower your cost per part.


